- A Free plan that gives users 5 chat messages per month for free
- A Pro plan that gives users 100 chat messages per month for $20 per month.
1. Create your pricing plans
Create a plan for each tier that your app offers. In our example we’ll create a “Free” and “Pro” plan.- Dashboard
- CLI
Create your Autumn account, and the Free and Pro plans in the Plans tab.
Free Plan
Free Plan
- On the Plans page, click Create Plan.
- Name the plan (eg, “Free”) and select plan type
Free - Toggle the
auto-enableflag, so that the plan is assigned whenever customers are created - In the plan editor, click Add Feature to Plan, and create a
Metered,Consumablefeature for “messages” - Configure the plan to grant
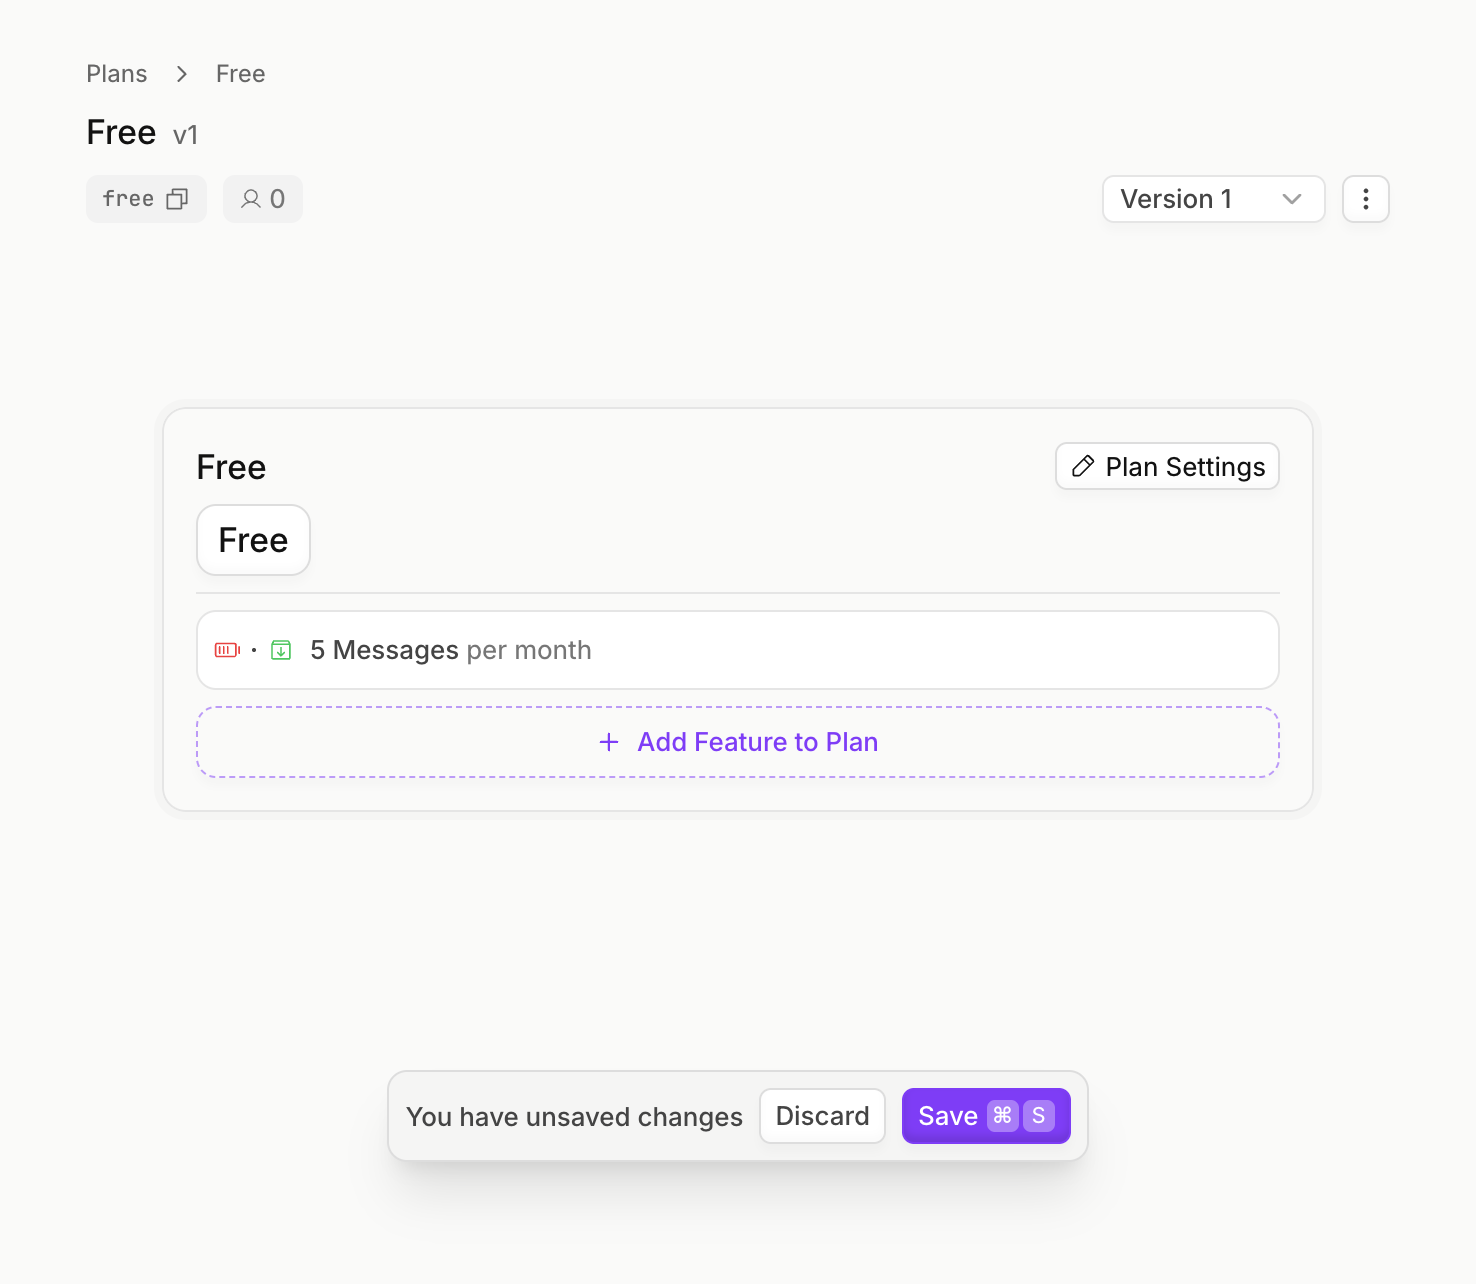
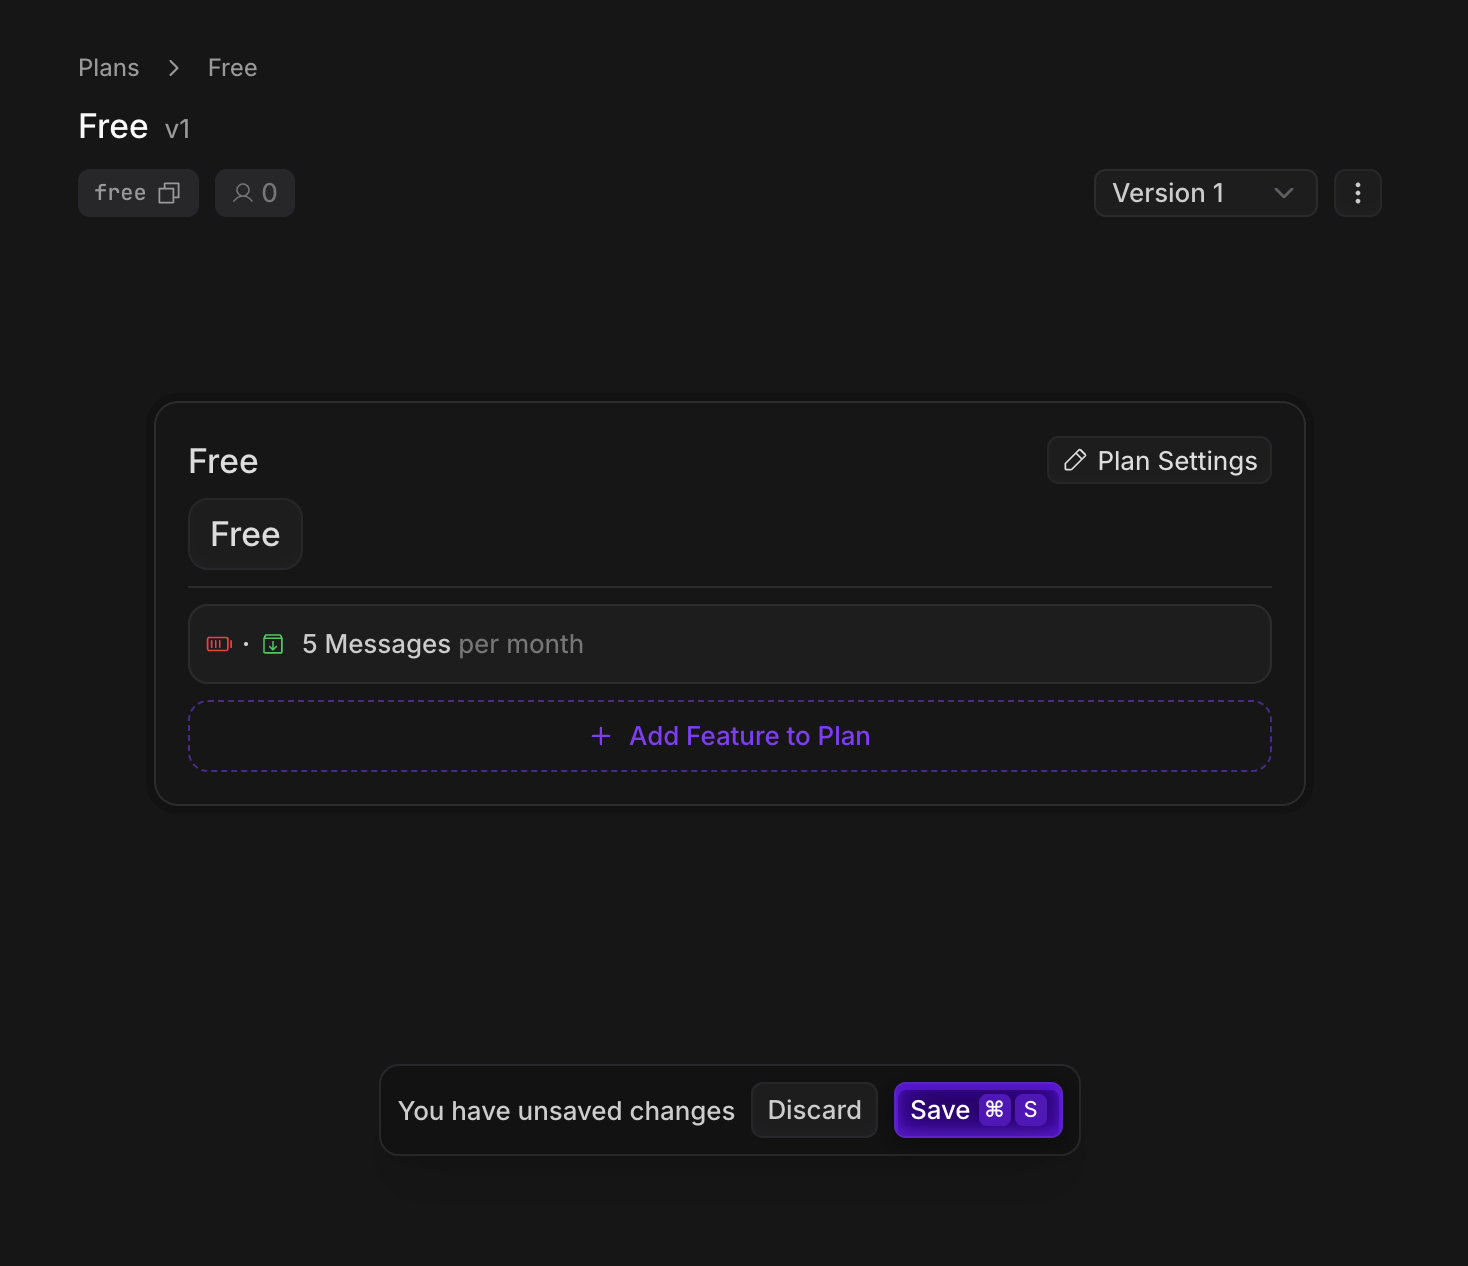
5messages, and set the interval toper month - Click Save
Your Free plan should look like this
Pro Plan
Pro Plan
- On the Plans page, click Create Plan.
- Name the plan (eg, “Pro”) and select plan type
Paid,Recurring, and set the price to$20per month - In the plan editor, click Add Feature to Plan, and add the
messagesfeature that you created in the Free plan - Configure the plan to grant
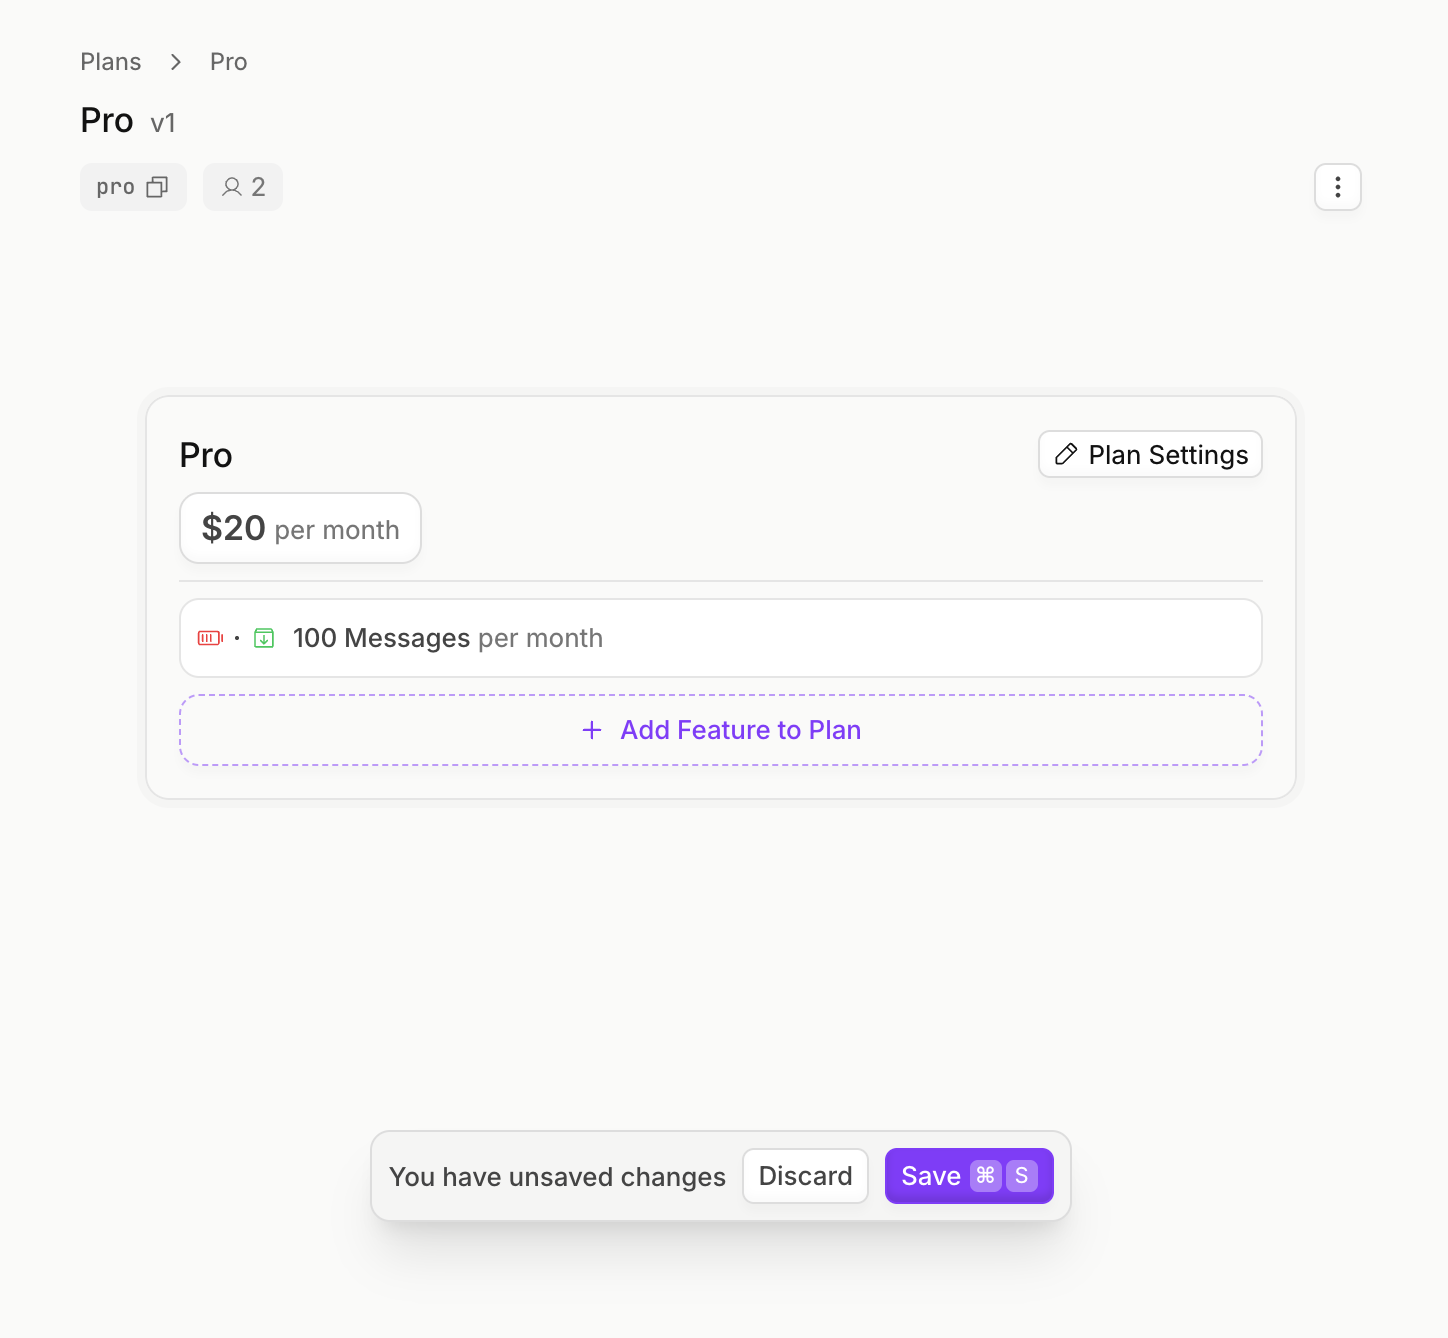
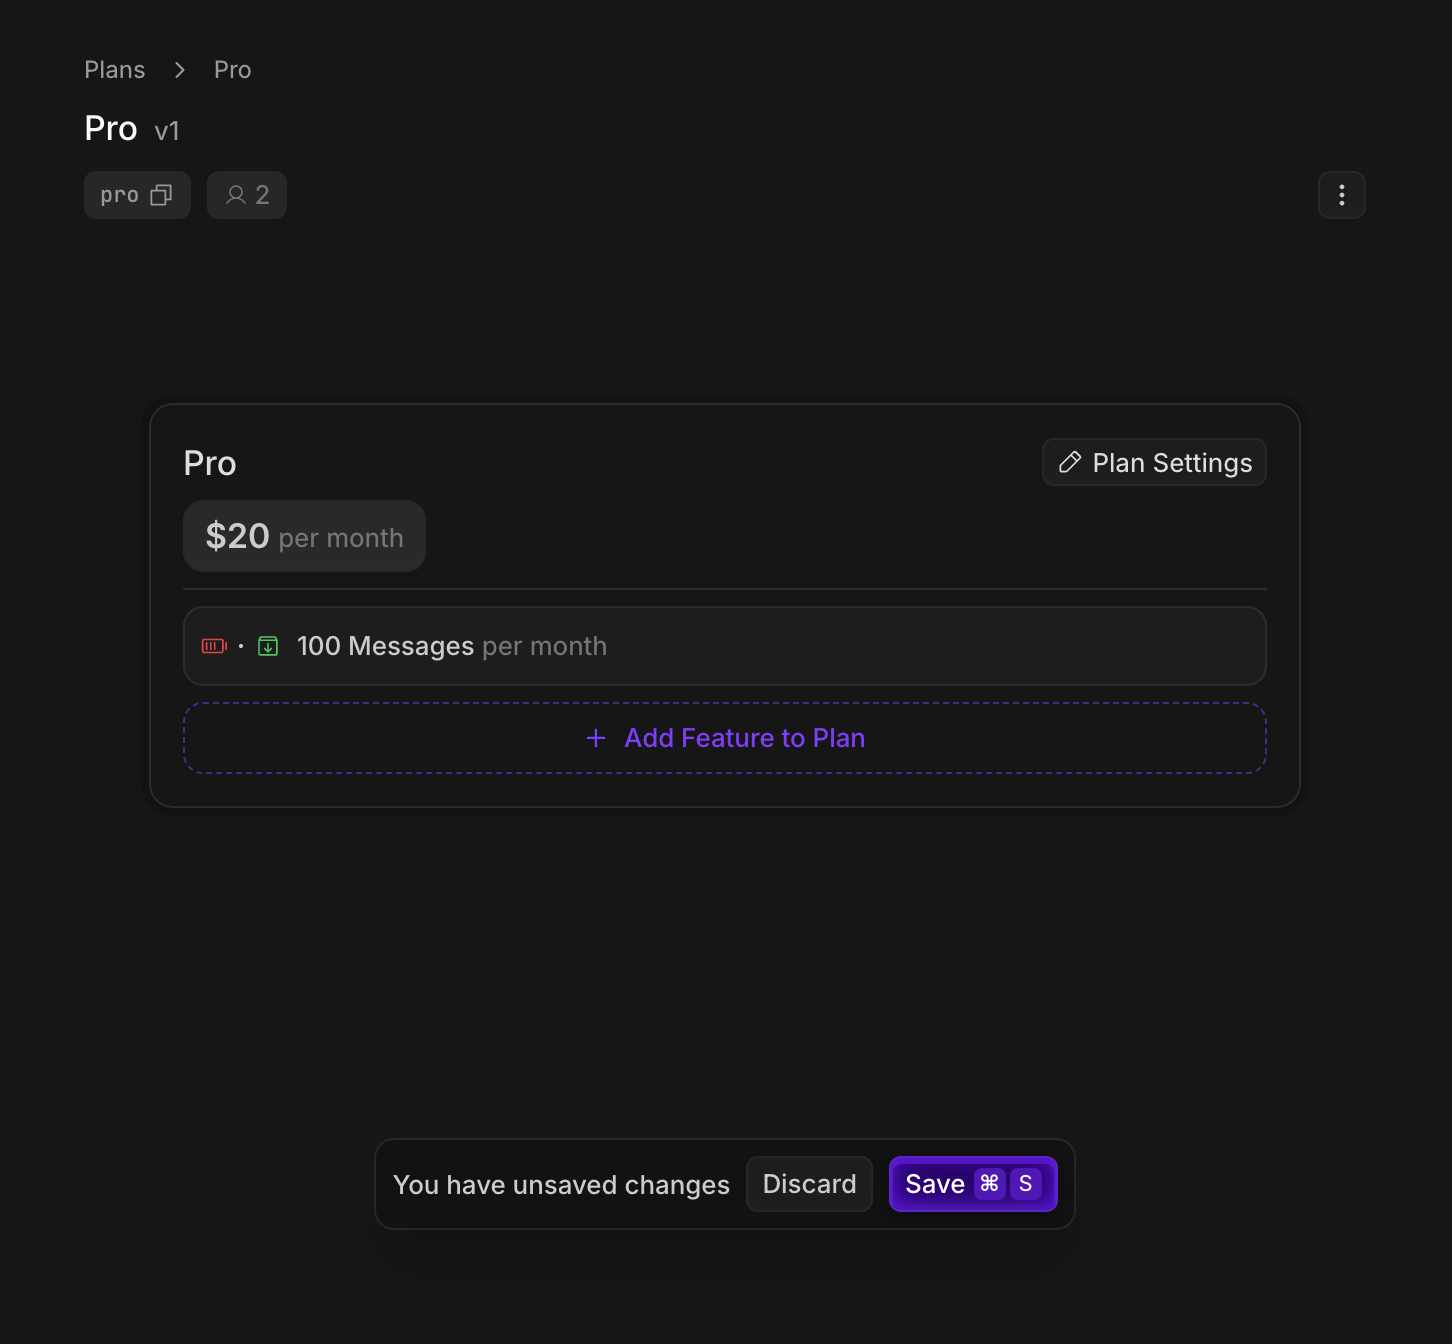
100messages, and set the interval toper month - Click Save
Your Pro plan should look like this
2. Installation
Create an Autumn Secret key, and paste it in your.env variables. Then, install the Autumn SDK.
.env
3. Create an Autumn customer
When the customer signs up, create an Autumn customer for them. Autumn will automatically enable the Free plan, since you marked it with theauto-enable flag.
Autumn’s customer ID is the same as your internal user or org ID generated from your auth provider, so you can use the same ID for everything.
4. Stripe Payment Flow
Handling payments and enabling plans is a 2-step process:checkoutto get “checkout” information (either a Checkout URL, or purchase confirmation data)attachto enable the product for the customer and charge a saved payment method.
Checkout
Call thecheckout function to get Stripe checkout page when the customer wants to purchase the Pro plan, and pass it to your frontend.
If their payment details are already on file, a Checkout URL will not be returned. Instead, checkout preview data (eg, prices) will be returned, which you can use to display to the user.
This lets them confirm their upgrade, downgrade or new purchase.
Use Stripe’s test card
4242 4242 4242 4242 to make a purchase in sandbox. You can enter any Expiry and CVV.Attach
If the payment details are on file and the customer has confirmed their upgrade, use theattach function to charge their card and enable the plan.
This call is only needed if there was no URL returned from the checkout step.
No matter what scenario: new subscriptions, upgrades, downgrades, renewals, one-off payments, always follow this 2 step process.Upgrades will happen immediately, and downgrades will be scheduled for the next billing cycle.
Next steps Now that the plan is enabled and you’ve handled payments, you can now make sure that customers have the correct access and limits based on their plan.
Gating Features
Enforce usage limits and feature permissions using Autumn’s
check and track functions