Client libraries are supported for React and Node.js apps. Please use our Server-side SDK for other frameworks and languages.
- A Free plan that gives users 5 chat messages per month for free
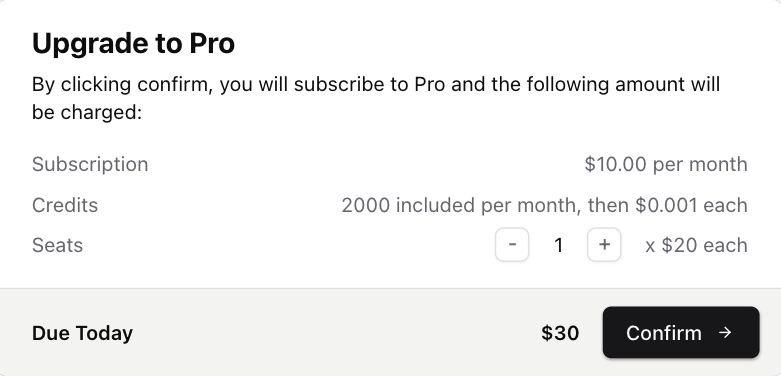
- A Pro plan that gives users 100 chat messages per month for $20 per month.
Create your pricing plans
Create a plan for each pricing tier that your app offers. In our example we’ll create a “Free” and “Pro” plan, and assign them features.- Dashboard
- CLI
Create your Autumn account, and the Free and Pro plans in the Plans tab.
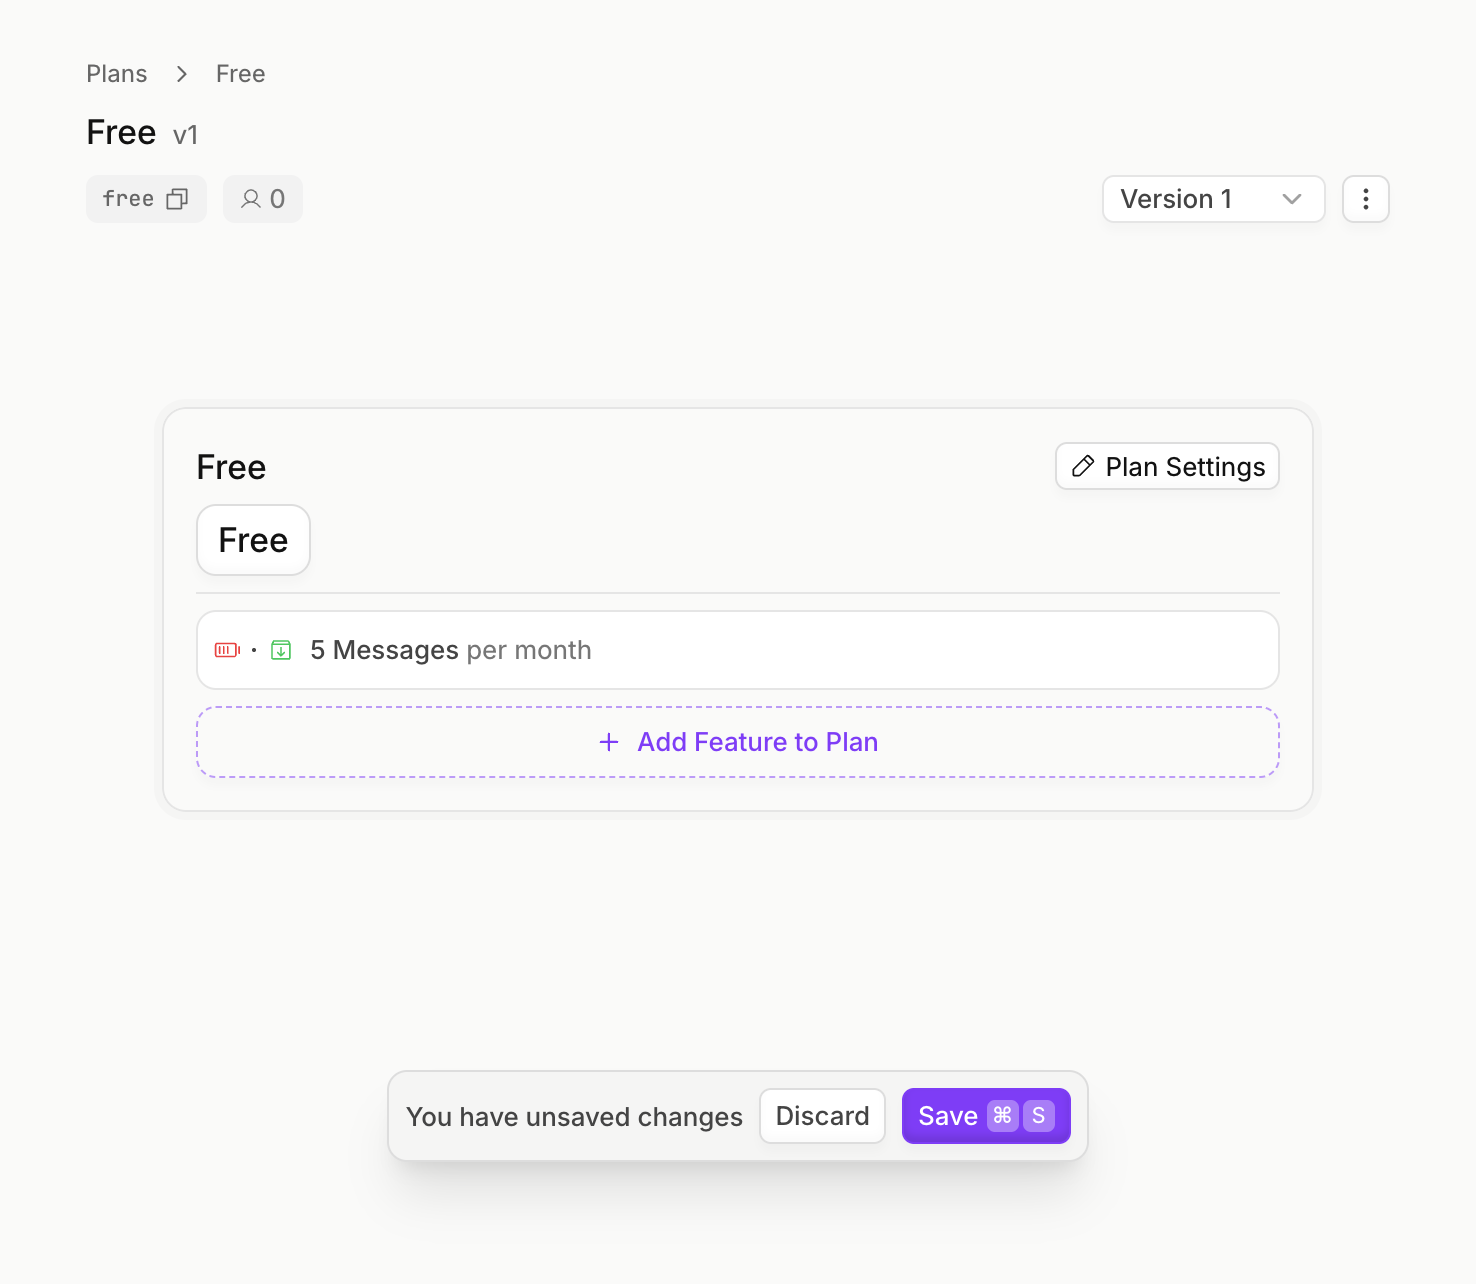
Free Plan
Free Plan
- On the Plans page, click Create Plan.
- Name the plan (eg, “Free”) and select plan type
Free - Toggle the
auto-enableflag, so that the plan is assigned whenever customers are created - In the plan editor, click Add Feature to Plan, and create a
Metered,Consumablefeature for “messages” - Configure the plan to grant
5messages, and set the interval toper month - Click Save
Your Free plan should look like this
Pro Plan
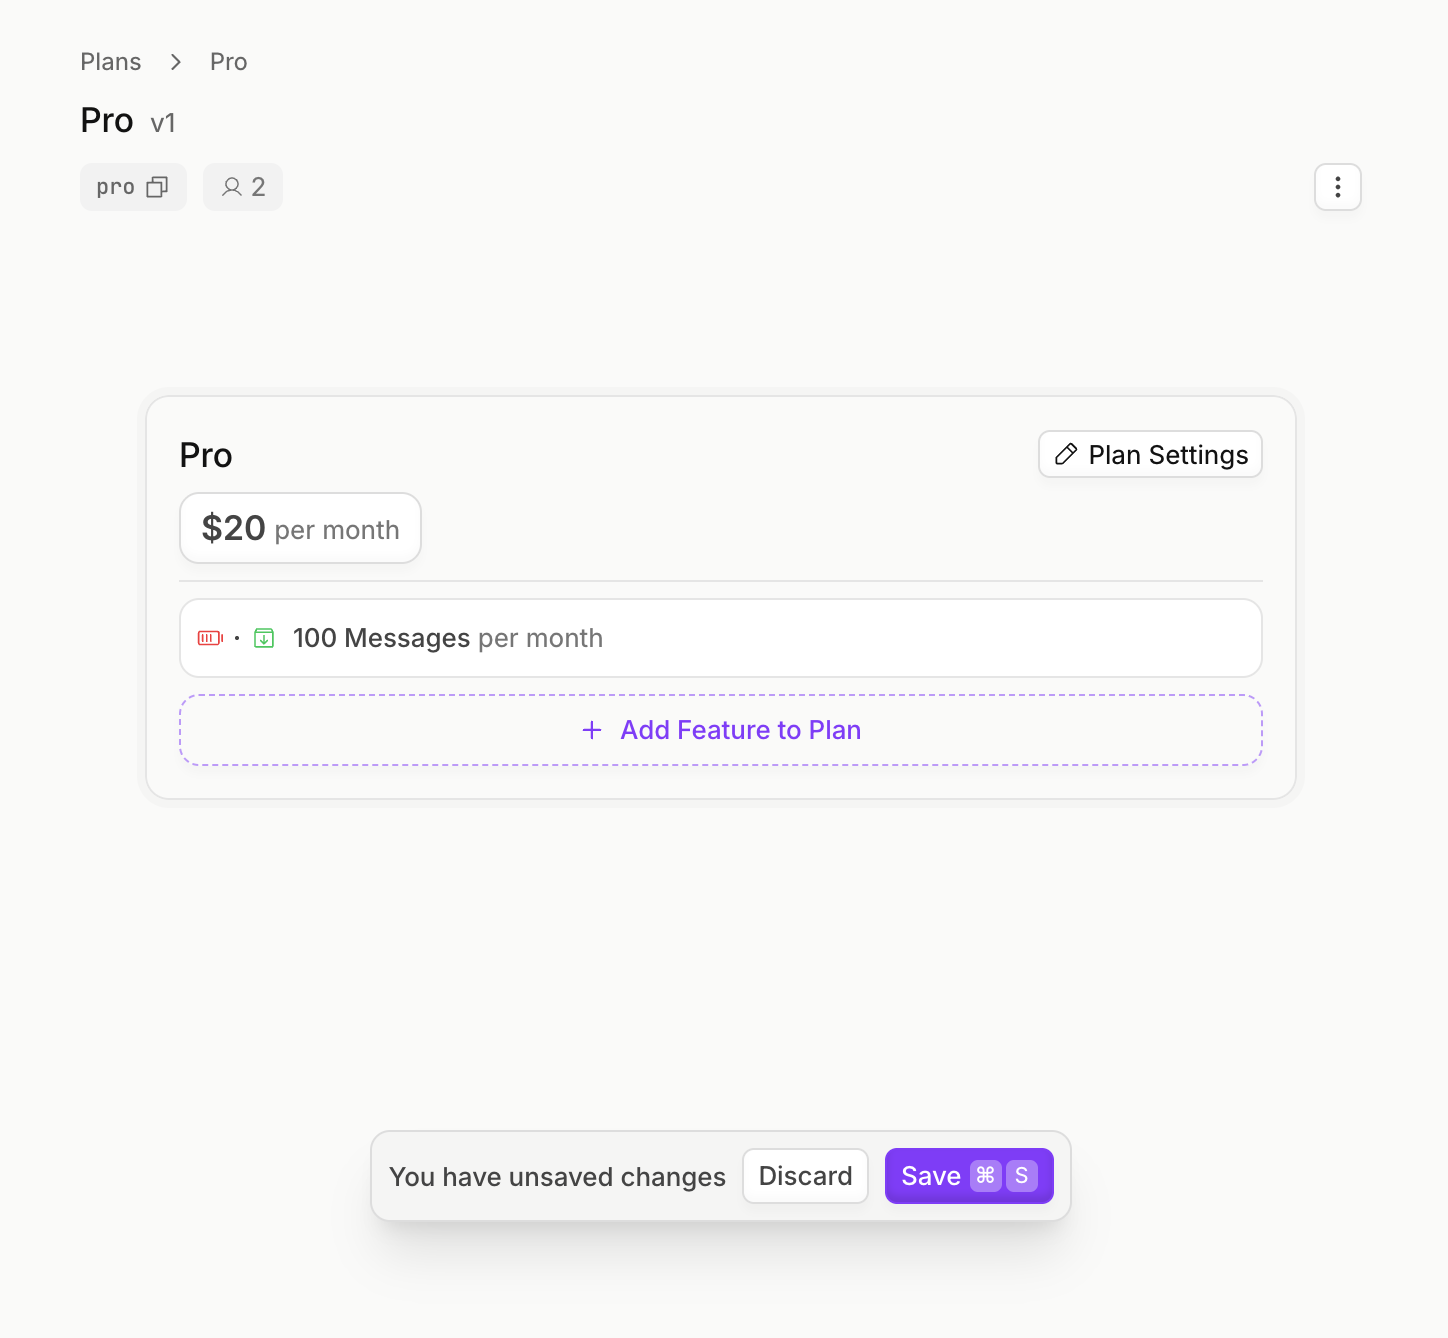
Pro Plan
- On the Plans page, click Create Plan.
- Name the plan (eg, “Pro”) and select plan type
Paid,Recurring, and set the price to$20per month - In the plan editor, click Add Feature to Plan, and add the
messagesfeature that you created in the Free plan - Configure the plan to grant
100messages, and set the interval toper month - Click Save
Your Pro plan should look like this
Installation
Create an Autumn Secret key, and paste it in your.env variables. Then, install the Autumn SDK..env
If you’re using a separate backend and frontend, make sure to install the
library in both.
Add Endpoints Server-side
Server-side, mount the Autumn handler. This will create endpoints in the/api/autumn/* path, which will be called by Autumn’s frontend React hooks. These endpoints in turn call Autumn’s API.The handler takes in an identify function where you should pass in the user ID or organization ID from your auth provider.Add Provider Client-side
Client side, wrap your application with the<AutumnProvider> component.If your backend is hosted on a separate URL (eg, when using Vite), pass it into the backendUrl prop. This directs the requests from your frontend to the handler in the previous step.If needed, you can use the
getBearerToken or headers props in the provider to pass the auth token or headers to the handler.Create an Autumn customer
From a frontend component, use theuseCustomer() hook. This will automatically create an Autumn customer if they’re a new user and enable the Free plan for them, or get the customer’s state for existing users.React
Stripe Payment Flow
Callcheckout to redirect the customer to a Stripe checkout page when they want to purchase the Pro plan. Once they’ve paid, Autumn will grant access to “100 messages per month” defined in Step 1.For subsequent payments, no payment details are required, so a Checkout URL is not returned. You can pass in Autumn’s <CheckoutDialog /> component, which will automatically open instead to let the user confirm their payment.Use Stripe’s test card
4242 4242 4242 4242 to make a purchase in sandbox. You can enter any Expiry and CVV.React
Show Checkout Dialog
Show Checkout Dialog
Track and limit usage
Enforce usage limits and feature permissions using Autumn’s
check and track functions